Tutorial: Bias Bound Seams, Version 2
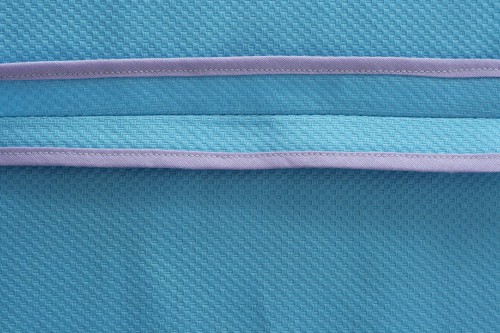
Earlier we did a tutorial on bias bound seams. Here is another bound seam, this time pressed open. Usually this finish is found in jackets or garments made with thicker fabrics such as cotton twill, certain wools or other medium to heavy weight fabrics. Whatever the garment, the seams must lie flat so make a test seam if you’re using a thick fabric.
This seam is fairly easy to make but takes a good amount of time since both sides of the seam allowance are bound.
Items Needed:
- fabric
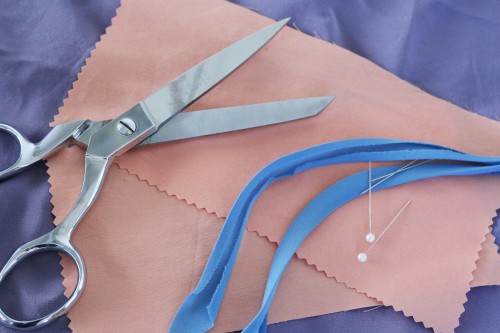
- scissors
- pins
- bias binding
1. Sew the seam as you would normally.
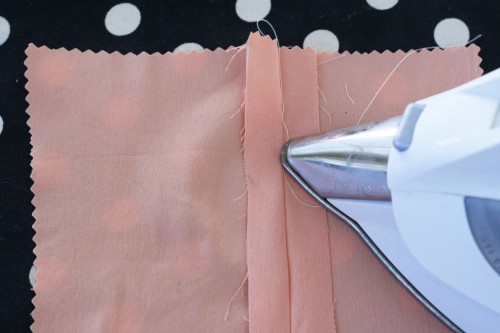
2. Press the seam open.
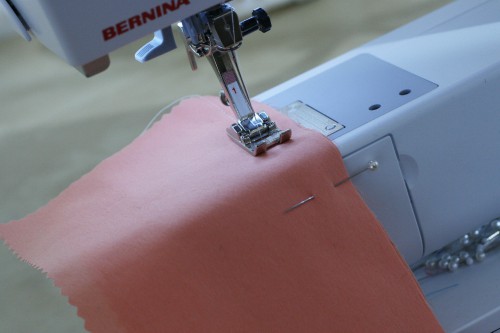
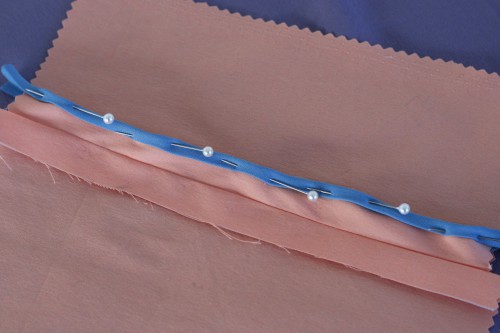
3. Pin a strip of bias binding to one of the seam allowances.
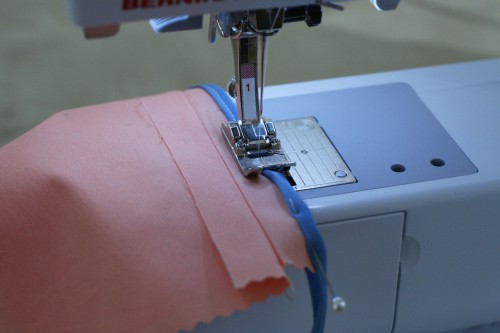
4. Sew the bias binding, being sure the binding is sewn on the back side.
5. Follow steps 3 and 4 for the opposite seam allowance.
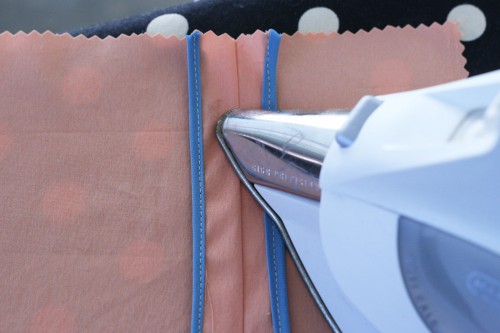
6. Press the seam open.
The seam will remain open on the inside of the garment. Play around with different bias bindings. Make your own using this easy tutorial Sarai put together!
ETA: Thanks to readers for pointing out some naming confusion between blound and Hong Kong seams. The post has been corrected for clarity.

 Sign In

Comments
Lindsay
February 24, 2011 #
Great tutorial – I could imaging you could get some lovely looks playing round with different fabric/binding combinations with this method.
Isabel
February 24, 2011 #
Thank you for the tutorial. Perhaps you can answer a long burning question, what is the difference between a bias bound seam and a Hong Kong seam? Are they just different names?
Elise Baker
February 24, 2011 #
I believe that the above tutorial is what is usually called bias bound, a Hong Kong finish also uses bias tape but it is slightly more involved. The tape is opened, the right sides of tape and seam allowance are stitched 1/4″ from edge, then the bias is turned to the underside, pressed and stitched again in the ditch, next to the first stitching. It looks almost identical to the bias bound edge just with more steps :)
(this is from what I have been taught and I could be wrong!)
Also I just want to add that I think that these types of tutorials are so helpful for sewers and thank you guys for putting in all the time and effort to create them!
Amanda
February 24, 2011 #
Oh, put the pins *parallel* to the edge, not perpendicular. Geez, this will make applying bias binding so much easier! Why didn’t I think of that? :)
Karen
February 24, 2011 #
‘being sure the binding is sewn on the back side’. This part is key! I so often turn the fabric over to discover that not all of the back side has been caught up in the sewing. It really is quite tricky. But what a lovely finish!
KWu
February 24, 2011 #
Any tips on how to accomplish this? I tried this one and just had such a horrible time keeping the back side of the bias tape in place.
Caroline
February 24, 2011 #
Many tutorials on bound seams add an extra step, and that is to put your tape right side to the seam wrong side, raw edges matching, and sew together, and sew with a 1/4″ seam allowance. Press flat, then flip the tape around with other long edge (hopefully folded under neatly) and pressed open seam (WS) facing you. The seam just sewn and the other loose edge should sit on top of one another and you can focus more on sewing along the top edge neatly. If you miss the bottom edge it doesn’t matter so much as it’s already sewn down. Like so: http://www.oliverands.com/blog/2010/09/bound-seams.html
KWu
February 25, 2011 #
Ah, makes a lot of sense! I will definitely try out this technique next time around. Thanks!
Caroline
February 24, 2011 #
Very nice, but that’s a nice bound seam, not a Hong Kong seam. On a Hong Kong seam the underside is not turned under, it is flat and trimmed close, to reduce bulk. I hate to be Mrs. FussyPants, but this tutorial incorrectly named.
Catherine
February 24, 2011 #
Whatever it’s called, I love it! I used this method with rayon seam binding on the inside of a vintage 60’s wrap skirt for my daughter and it’s made the inside of the garment so beautiful!
sewer
February 24, 2011 #
As I noted on the last tutorial, the Hong Kong and Bias Bound Seams are different. This looks like another Bias Bound seam.
http://www.sewing.org/files/guidelines/11_340_bound_hong_kong_seam_finishes.pdf
If you sew a bias strip, right side to right side on the seam allowance, fold it over the edge and stitch in the ditch by hand it will be invisible.
Amanda
February 24, 2011 #
I just did a Hong Kong binding to a pair of linen pants and it turned out beautiful – would recommended for certain for finishing the seams in pants every time.
Nicole
February 25, 2011 #
Does anyone have/use a binding foot for their machine? I often do bound seams on the inside of my garments, and it takes forever (especially because I use the method that others have suggested of stitching a single layer of binding first, folding it over the seam to cover the raw edge and stitching again). And even after all that work, it still looks a little wonky/misaligned sometimes…