Lace Yoke Tutorial
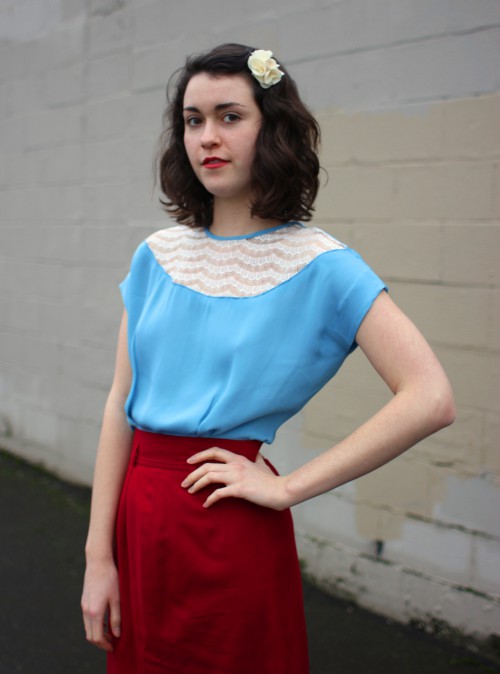
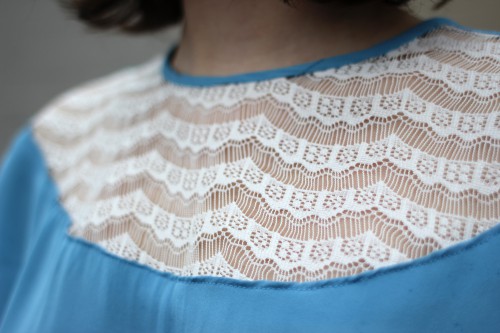
Lace yokes are yet another nod to classic styles of the past that remain ever so popular in modern designs. Altering our Sencha pattern to incorporate a contrasting yoke is surprisingly easy, and can be varied in quite a few ways to create any look you want! I love the elegant lace we used for this tutorial, but a sheer mesh, polka dot or floral print, or even a contrasting color of the same fabric would add an interesting and unique focal point, too!
Feel free to make the yoke as wide or as narrow as you desire, and if you master this tutorial, try creating a yoke in V shaped chevron or jazz it up with a scalloped edge…just remember to account for seam allowances and retrace the new pattern on a fresh sheet of paper.
You need:
- a ruler
- paper scissors
- rotary cutter or fabric sheers
- Sencha version 1 pattern pieces
- fashion fabric for Sencha version 1
- pencil
- 1/4 yard of lace fabric
- a large sheet of paper
- thread
- hand sewing needle
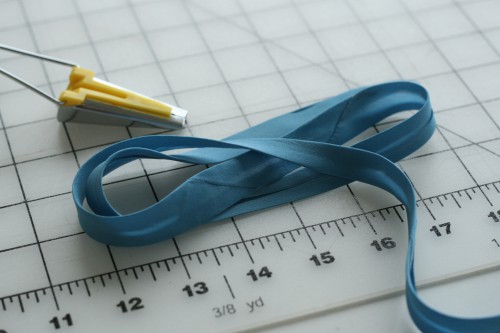
- bias tape maker
Step 1: Cut out pattern pieces for Sencha Version 1, excluding the facing. We’ll be omitting any steps from the pattern instructions regarding the facing because later on we’ll sew a matching bias strip along the neckline that eliminates the need for facing.
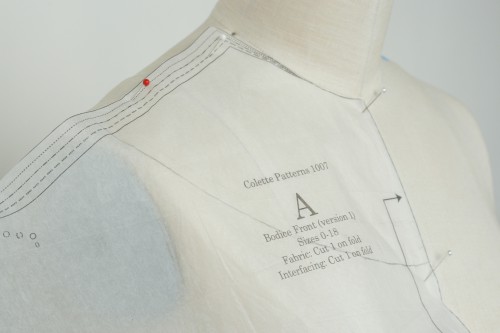
Step 2: Pin front bodice to dress form, carefully aligning at shoulders and center front.
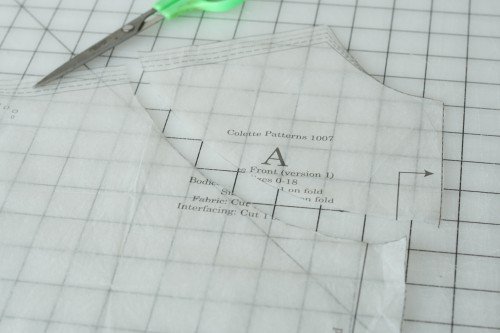
Step 3: Decide where you want the yoke to fall on the bodice and draw it on with pencil. Use a ruler to make sure the line you drew makes a right angle at CF.
Step 4: Cut along the pencil line so you have a yoke piece and altered bodice piece.
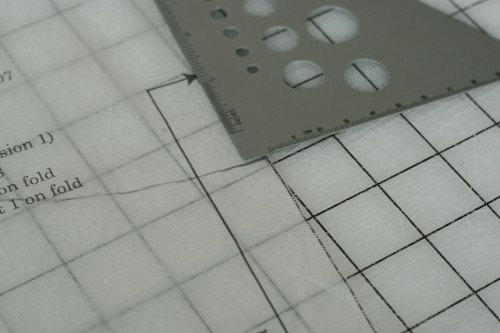
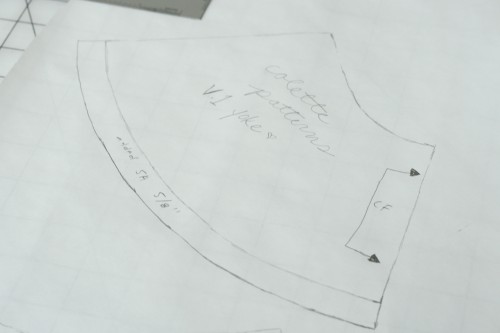
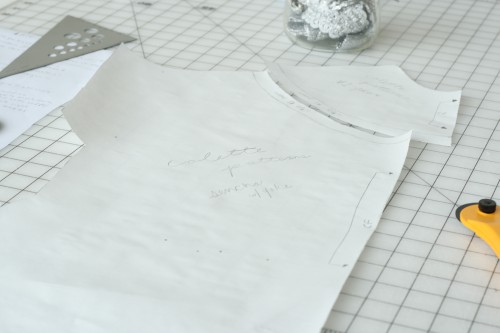
Step 5: Trace yoke and bodice pieces on regular paper or Swedish tracing paper. Remember to mark darts, drill holes, and CF. Add 5/8″ seam allowance where you altered the pattern along the bottom yoke edge and bodice neckline. Check right angles with a ruler.
Step 6: Cut out new pattern pieces.
Step 7: Place new pattern pieces and back bodice piece on fabric/lace and cut out each piece.
Step 8: Make matching bias tape with left over fabric from bodice. We’ve provided two easy tutorials here and here.
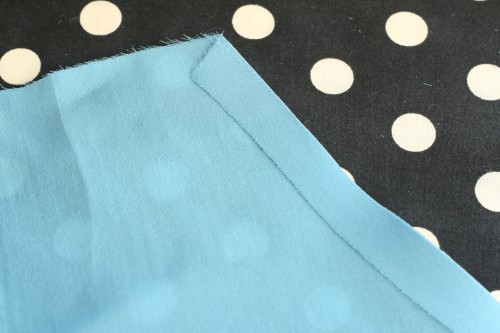
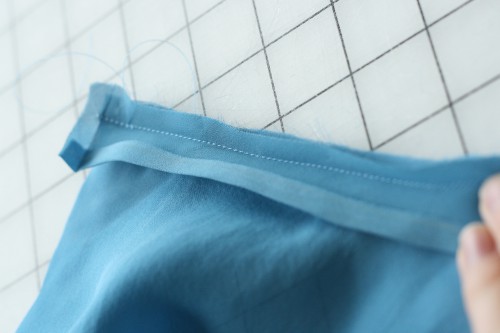
Step 9: Sew a stitch at 5/8″ along bodice neckline. Folding along stitch, press seam with wrong sides together.
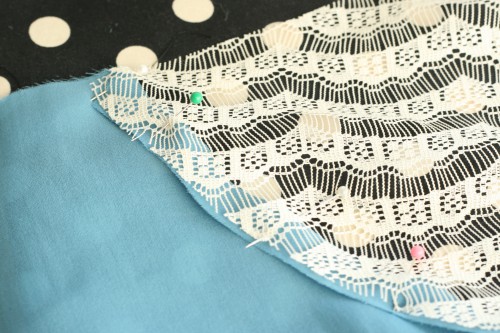
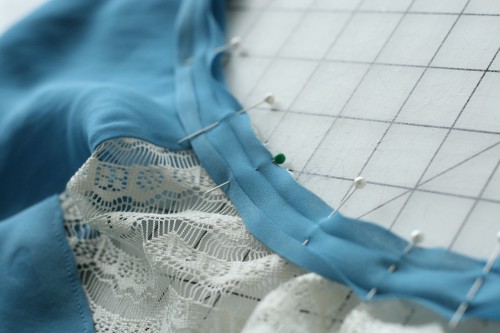
Step 10: Now you will assemble lace yoke and front bodice together to make one unit: Pin lace yoke to blouse along seam at 5/8″ and make sure there are no puckers on the right side.
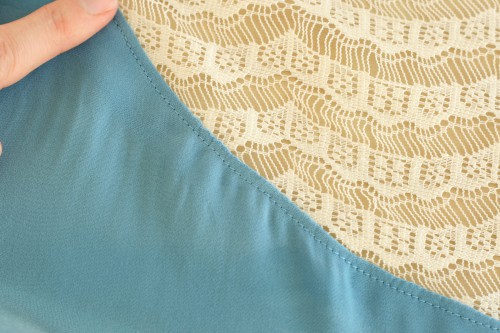
Step 11: Edge stitch neatly so lace yoke and bodice are connected. Press flat.
Step 12: Trim about 1/4″ off along the neckline.
Step 13: Now you will assemble the rest of the blouse according to pattern directions until you get to the back opening. Skip Step 5 of pattern directions: you will sew the back opening closed as you bind the neckline.
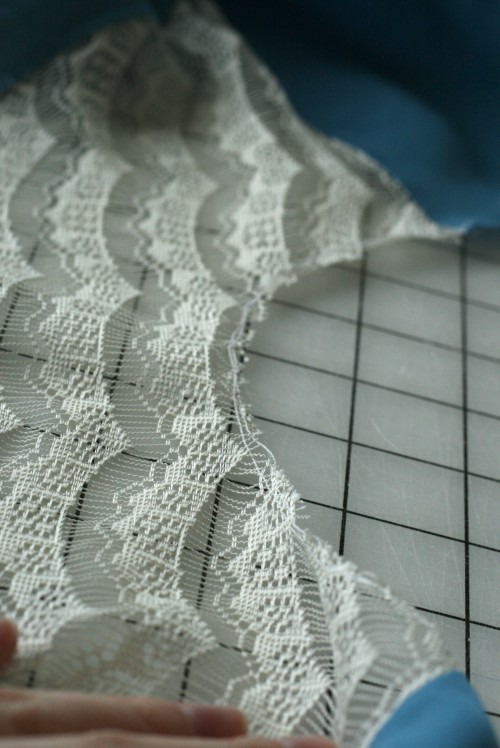
Step 14: Edge stitch along lace neckline (within the seam allowance) to avoid fraying.
Step 15: With right sides together, pin opened bias tape to blouse neckline at raw edges. Leave about 1/4″ on bias tape at each end.
Step 16: Sew along pressed crease of bias tape.
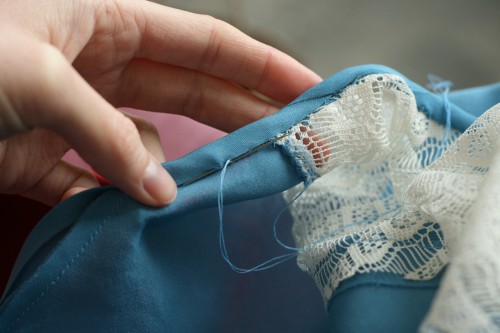
Step 17: Tuck in the remaining 1/4″ of bias tape at the ends so you have a clean finish. Fold bias strip over raw edge of neckline and hand sew with an invisible stitch.
Step 18: Finish blouse per pattern directions. Voila!
Love the tutorial? Upload a photo of your finished Sencha blouse and yoke to the Colette Patterns flickr group, or the CP Forum!

 Sign In


Comments
Portia
February 14, 2011 #
Love this. Am hoping to incorporate some lace collars (and now yokes!) into my Spring wardrobe. Thanks for this. Brilliant!
Px
Tasha
February 14, 2011 #
Wow! I am REALLY excited by this tutorial. I never finished my first version of Sencha last year, since I just didn’t pick a very good fabric for it (beginner’s mistake– it hands in my closet mocking me, with no buttons up the back, even). However I definitely want to give it another whirl, especially with this cute mod! Thank you so much for sharing.
Ashley
February 14, 2011 #
Awesome, I really really love this look! I can’t wait to try this!
Kerry
February 14, 2011 #
This is lovely – I might incorporate this on my next version of the blouse (no.4!) to give it a twist.
Brittan
February 14, 2011 #
I stalk the colette patterns blog every day, I love it so much… This post is awesome, I cant wait to try this tutorial. Also, that red and blue color combo on the model is a favorite :) Keep it up!
xo, B
Rachel
February 14, 2011 #
I’m happy that you love the blog! We are so excited about the tutorials and posts we put out :)
I’m actually the model, hehe, so thank you! I loved the color combo, too.
Yellie
February 15, 2011 #
I really appreciate the finishing details, inside and out!
Lisa
February 26, 2011 #
I love this look. And it looks relatively easy to achieve, might have to have a go.
Sea
February 16, 2013 #
This is really pretty but I have a question. I’m new at sewing and wanted to know why there is some puckering visible along the seam of this top? I know that puckering can be caused by incorrect tension and stitch length, but it can also be caused by thinner fabric. Since you’re pretty pro at this I’m assuming it’s the fabric. How do you avoid puckering when working with thin cotton and lace?