
 Sign In

How to use a bamboo point turner
Ever have difficulty getting points just right?
It seems like rounded corners are all too prevalent in home sewing. Using a point turner can change that. This handy and inexpensive tool can be found at your local sewing store or online for less than $2.
The point turner comes in plastic and bamboo. Both are soft so that they won’t damage your fabric, but be aware that plastic may melt when it comes in contact with an iron.
There are a couple of different shapes, but what’s most important is that the tool have a sharp point and a flat side with no curves. Bone folders are used in bookmaking and are very similar in shape to point turners but they shouldn’t be used as a substitute as they don’t have that sharp point with a flat side.
Follow this tutorial to make your corners sharp and professional. As with any new technique, try practicing it a few times before trying it out on your final garment. Here we used a bamboo point turner. This particular type can be used as a pressing tool and even helps push out curved seams due to the opposite curved end.
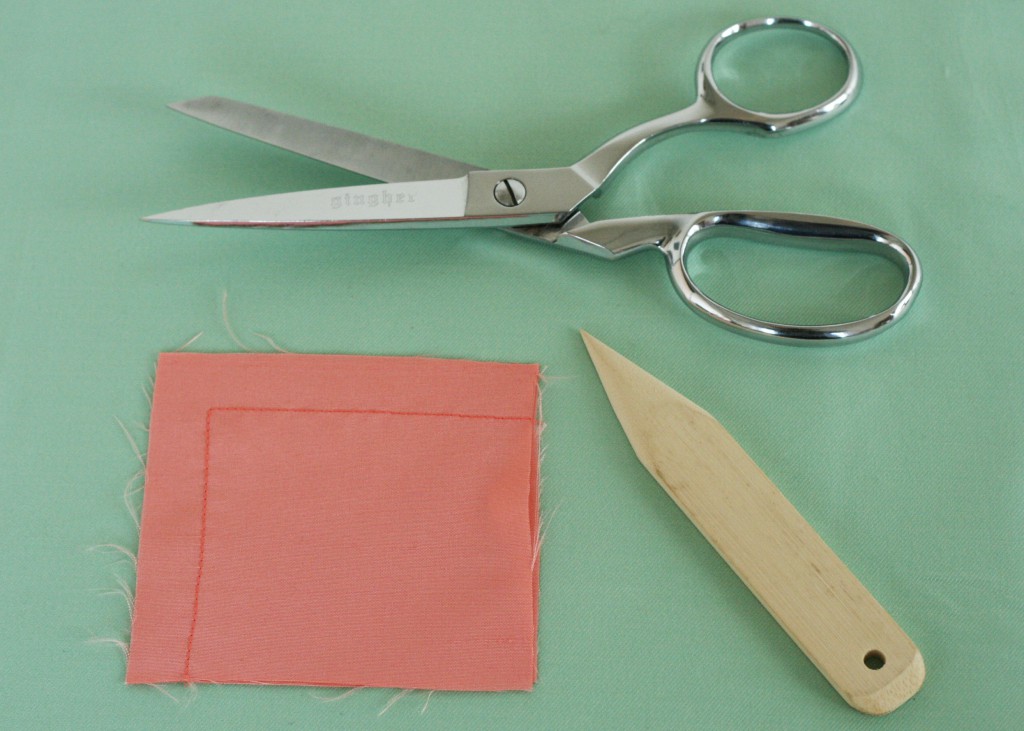
Tools Needed:
- Point Turner
- Scissors
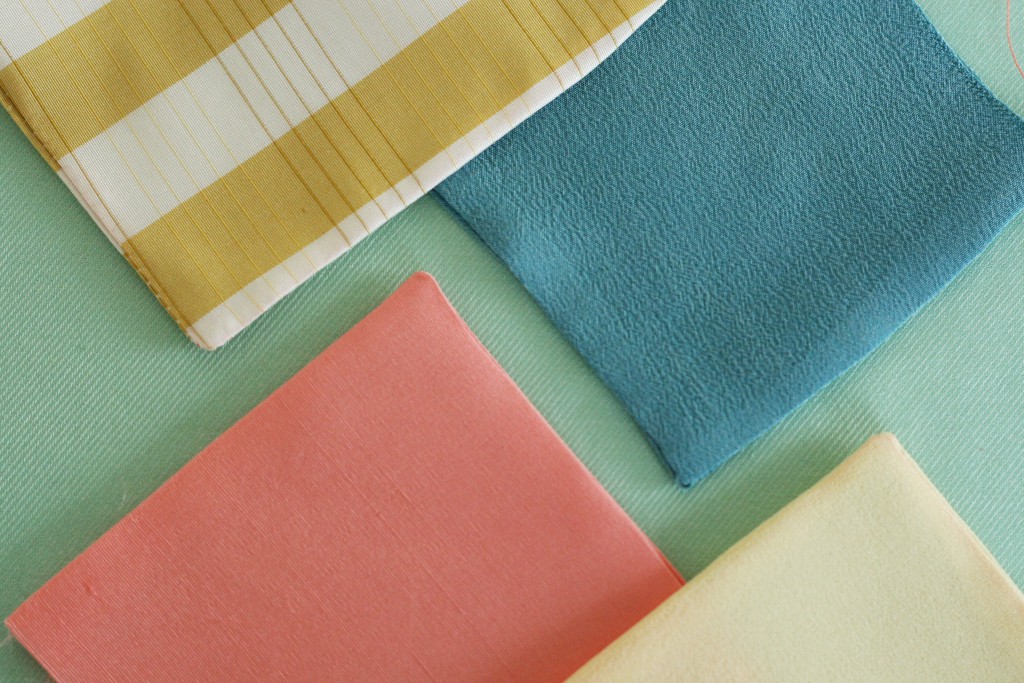
- A Corner of Fabric
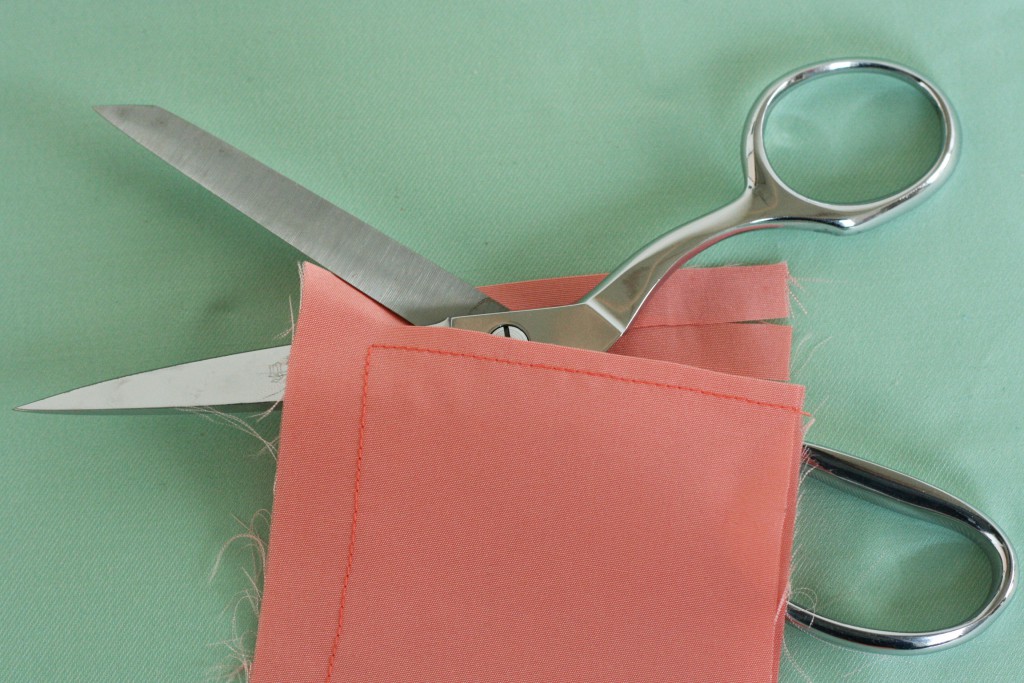
1) Cut away the seam allowance to 1/4″.

2) Trim, in this instance you are grading, the seam close to the corner. Be sure not to cut the thread!
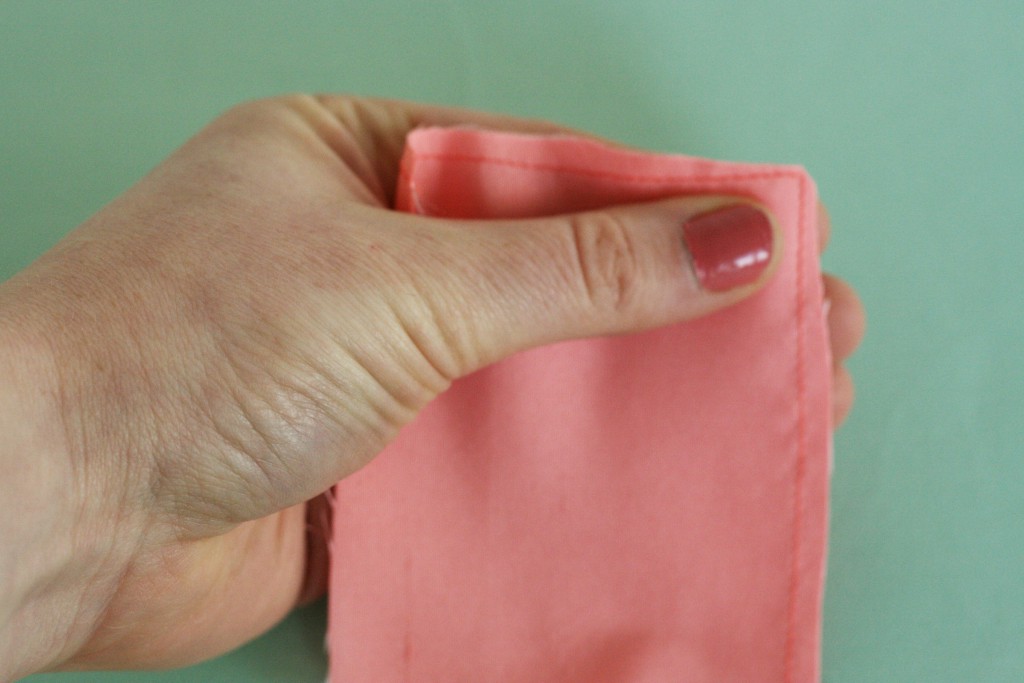
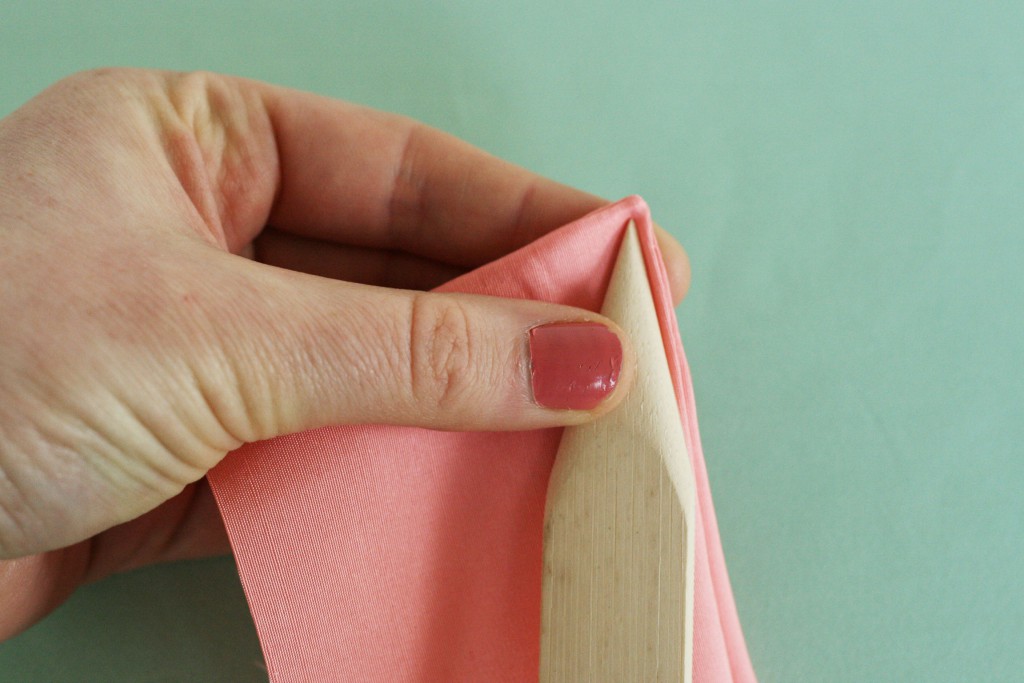
3) Hold the fabric in your hand. This picture demonstrates where your thumb will be when it’s inside the fabric.

4) With your thumb inside the fabric, push against the corner. Place the point turner in your hand. Think of it as a new forefinger. Push the flat edge of the turner against the seam, with the turner point and fabric point touching. The fabric is held tightly between the side of the point turner and your finger.

5) Keep your finger and turner holding tight as you pull the fabric over the turner.
6) If the corner isn’t quite as pointy as you want it, put the turner inside the fabric. Push against the seam gently like the above photo shows (except the turner will be inside). The turner point will gently push the fabric point out. Do not push the turner into the point! This often causes holes in the fabric because the turner is quite sharp.
Comments
Tilia
May 10, 2011 #
I grade my corners differently but I totally agree on the use of this little tool. If you use something else like a knitting for example it’s easy to press to much into the corner and make it to pointy.
Lola
May 10, 2011 #
That is so helpful, I will try to get a turner as soon as possible!
Btw, once I took apart the collar of a RTW shirt and the seams were graded just as pictured above. It takes some courage to cut away so much fabric though…
MB @YarnUiPhoneappv1.3
May 10, 2011 #
Yes, these point turners are about $1 each at Vogue Fabrics in Evanston, IL. Look for them hanging on the wall by the sewing machine department. Get a couple while you’re at. They’re indispensable like seam rippers! (Full disclosure: I haven’t used one yet, but ace sewer Mac Berg of Vogue Fabrics fame swears by ’em.)
King Mtn Treasures
May 10, 2011 #
Thanks for the advice. I’ve never seen one of these point turners. I sometimes use a pencil. Will look for one. Thanks again.
Stitch Rabbit
May 10, 2011 #
Oh! Thank you very much on that first step – I usually just shove my point turner in after I’ve turned the fabric right side out and then proceed to swear a string of curses when I rip through my fabric.
I usually use a chop stick which I love, but I’m going to give that thing a go again.
lsaspacey
May 11, 2011 #
I probably would have used this tool just like Stitch Rabbit, thanks for the info!
Shirley
August 9, 2012 #
Oh my gosh….I have this tool and am using it wrong! I am learning a wealth of knowledge from this site. :)
Kayleigh Garner
November 14, 2012 #
I like this tutorial for it’s basic use, but I have found one that offers a much more professional finish, as sometimes with a point turner you can misshape the edge that you are turning.
http://off-the-cuff-style.blogspot.co.nz/2012_11_01_archive.html