Tutorial: How to add tucks to the Violet blouse
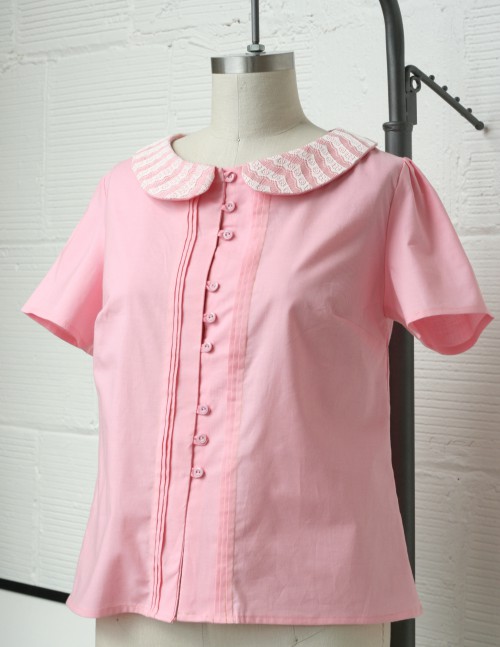
One of the great things about our Violet blouse pattern is that it provides a great canvas for an endless variety of alterations. We brainstormed three simple techniques that will add a little extra personality to your blouse: tucks, a lace collar, and clustered buttons with button loops. Each technique is incorporated in succession so you can sew along with one or more of them as we post the three tutorials. Enjoy!
You will need:
- Violet pattern and necessary supplies
- Ruler
- Pen
- Two colors of chalk pencil
- Tape
- Thread
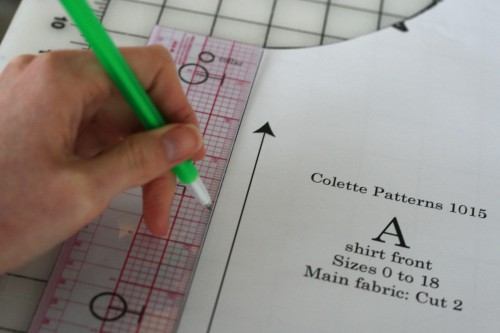
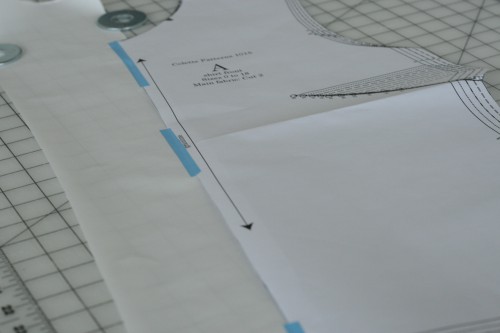
Step 1: Draw a straight line all the way down the front of pattern piece A, about 2″ from the front edge.
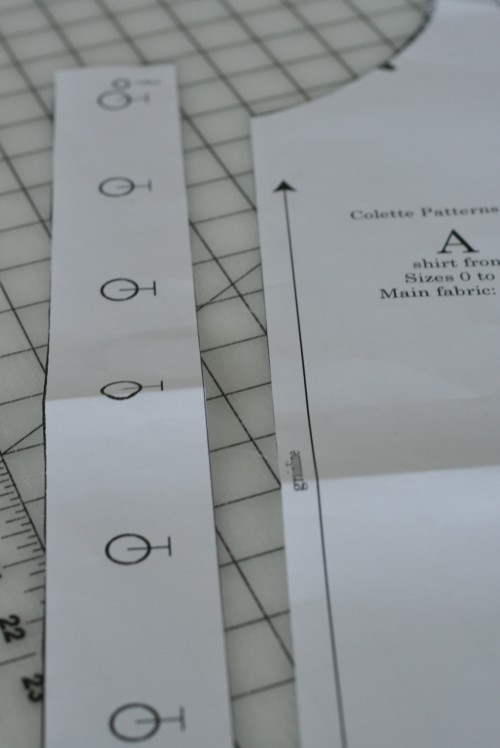
Step 2: Cut the pattern along the line you drew in step 1.
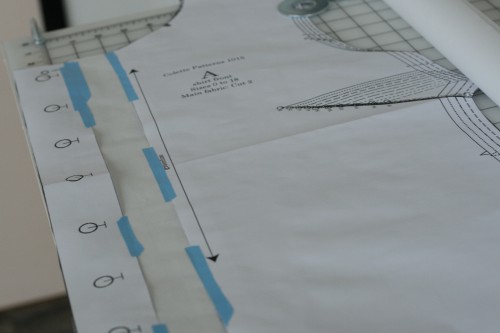
Step 3: Tape one part of the pattern piece to a long sheet of paper (or several small sheets, if need be).
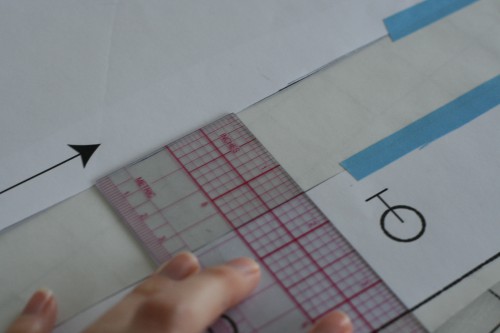
Step 4: Tape the remaining pattern piece to paper with a 1 1/2″ gap from other piece. Make sure it measures 1 1/2″ at all sections of the gap.
Step 5: Cut out the fabric using altered pattern piece.
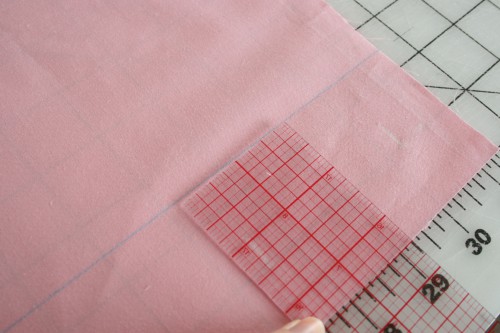
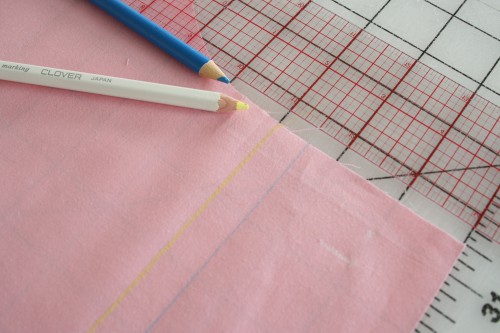
Step 6: On the right side of the front blouse, use chalk (here we used blue) to mark a line parallel to the center front. It will be 2 1/2″ away from the edge.
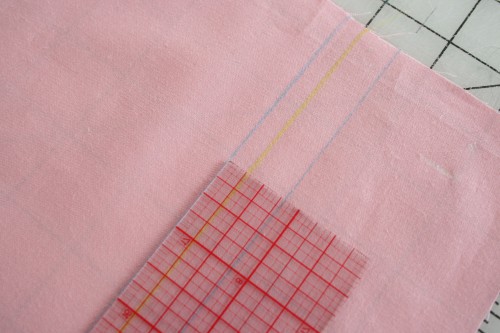
Step 7: Now make another line a 1/2″ away from the blue line in a contrasting chalk (here we used yellow).
Step 8: Leaving 1/4″ gap from the yellow line, make another parallel line in blue.
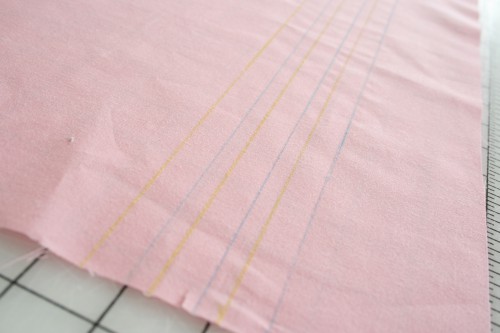
Step 9: Continue by making another yellow line 1/2″ away, leave a 1/4″ gap, and repeat steps until you have three yellow and blue lines 1/2″ away from each other, and a 1/4″ gap between each. These lines should go down the entire blouse front (pattern piece A) and remain completely parallel to the center front. Do this on both blouse pieces.
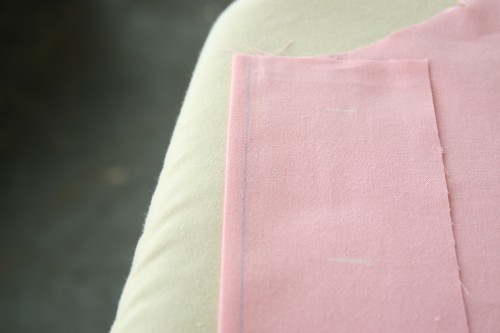
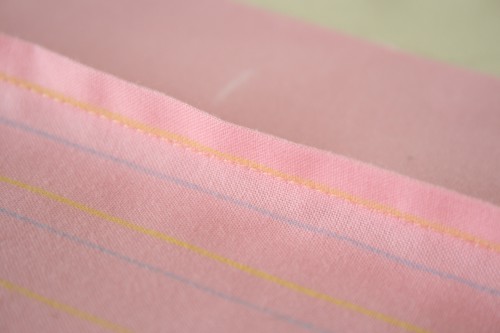
Step 10: With wrong sides together, fold the fabric so the first blue line is matched with the first yellow line and press.
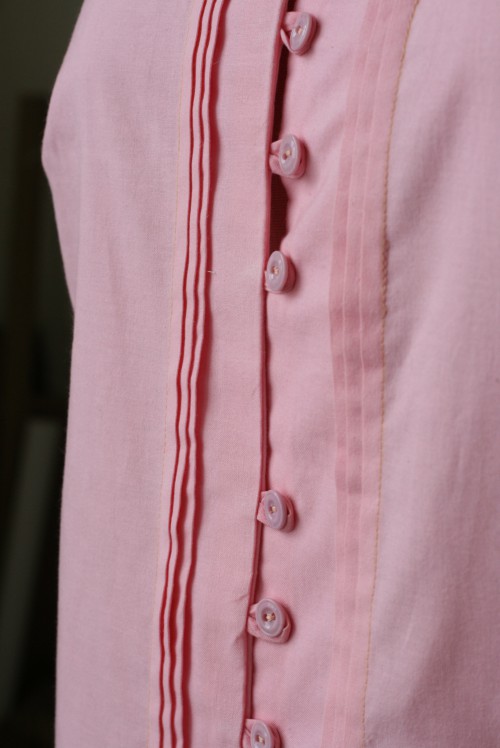
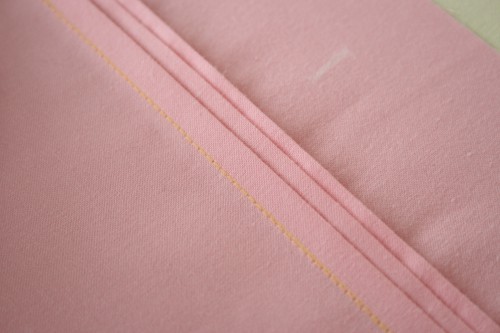
Step 11: Now sew along the matching lines to create a tuck. Repeat steps 10 and 11 with two remaining 1/2″ sections. The 1/4″ gap will serve as a buffer between each tuck, so don’t sew it!
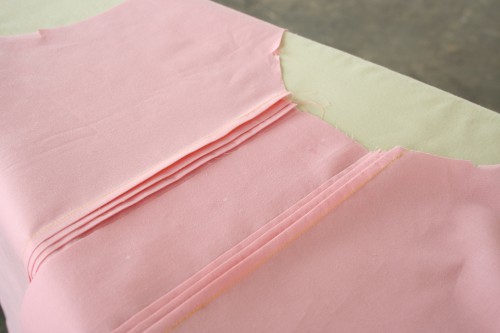
Step 12: Press tucks toward the center front.
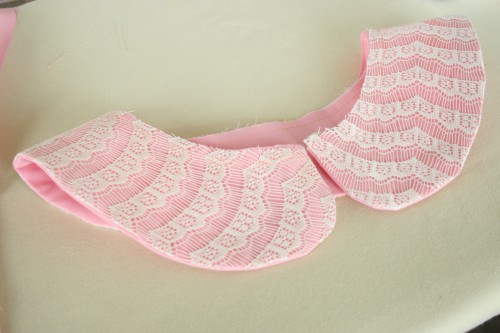
Step 13: Repeat with other side of blouse front. Wash chalk pencil markings away. Stay stitch around neckline and continue with the pattern directions to finish the shirt, or hold tight for our soon to be posted lace collar tutorial!
Here’s a little teaser…

 Sign In

Comments
Jennifer B
July 18, 2011 #
Gorgeous!
Melanie
July 18, 2011 #
This is so useful! Thanks.
Tasha
July 18, 2011 #
OOH! Fantastic, and bookmarked for future reference. Can’t wait to see the lace collar tutorial, too.
Emma
July 18, 2011 #
It is really nice to see how easy it is add tucks to this pattern. This answered a few of my questions- such as whether or not there would have to be extra fabric added to the pattern to make the tucks. Wonderful!
Sarai
July 18, 2011 #
Yep… and you can use this to do the same thing to many other patterns. You can also easily adjust the amount of fabric you add and the size / number of tucks you want.
Sarai
July 18, 2011 #
Glad you guys like it!
Just let me know if you have any other questions.
CamberwellGal
July 18, 2011 #
Ooh – tucks, collars and button loops – clever and pretty – thank you! …Since you asked in your survey, this is what I like about this blog anyway!
Sarai
July 18, 2011 #
This made me smile, because I was showing the survey results to Caitlin this morning and wow! You guys really really love tutorials, that’s for darn sure!
Caroline
July 18, 2011 #
Oh. my. god. THIS is my favourite tutorial (tucks, lace collar, button loops) EVER. I love all those techniques and shall be working on this project post-haste once I get my grubby paws on the pattern. Oh man, so excited!
Sarai
July 18, 2011 #
I love tucks too. It’s funny because it’s such a simple thing to add, but it really changes the look of a blouse. Anyway, glad you like it!
Amanda
July 18, 2011 #
I love this! Thanks so much. I really need to get sewing.
Michelle
July 18, 2011 #
YES! I’ll be using my coupon to buy the Violet pattern so I can try this tutorial! I’d like to try the piping detail you blogged about earlier this month on the Violet, too.
Sarai
July 18, 2011 #
I think the piping would look really nice on this blouse too! Especially around the collar.
Jeanine
July 19, 2011 #
Thanks! I’m excited to try out this technique. Loooove pintucks!
sewer
July 19, 2011 #
Thanks. I completed the survey and was considering buying this pattern with my discount.
Make handmade
August 24, 2011 #
Great tutorial, it is beautiful t shirt for summer. i like it very much and i will make it…. thanks for sharing…