Tutorial: How to sew piping in a seam

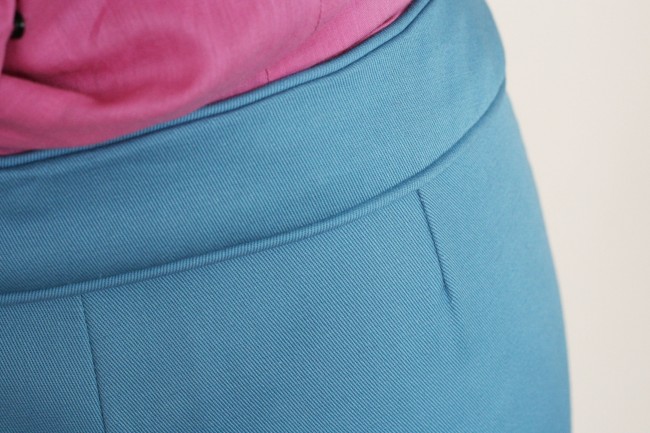
With the release of our three new patterns, we wanted to show you a few ways to add some great details. For the Clover pants pattern, you can add some piping to the waistband for a really polished look.
You can use any type of piping you like, contrasting, patterned, you name it. If you’ve never made your own piping, check out our piping tutorial. For some inspirational images to get you in the groove, look at these piping ideas.
- Clover pattern
- piping
- pins
- scissors
- hand sewing needle
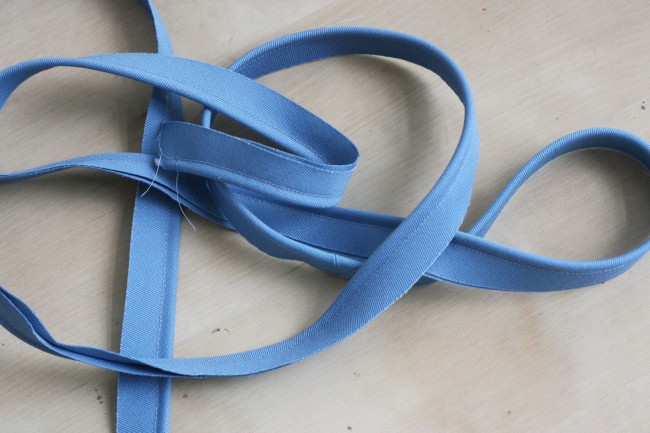
1. Make your own piping using this tutorial, or grab some piping from your stash.
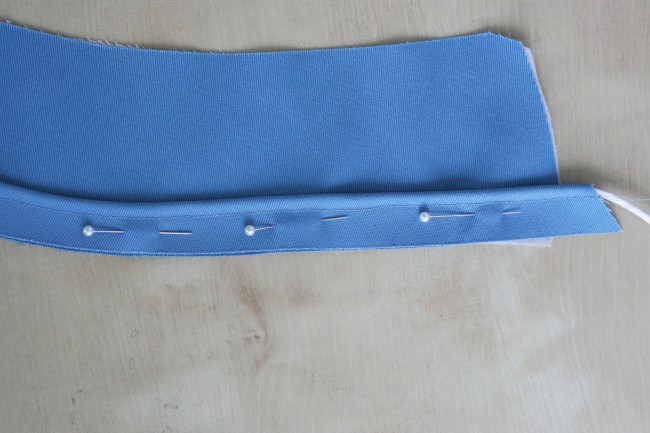
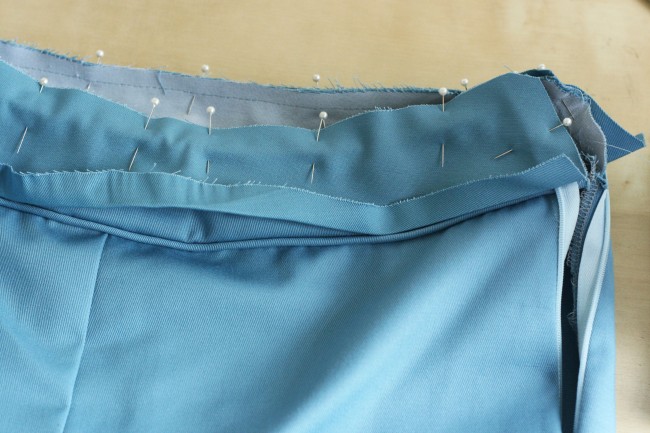
2. Following the pattern instructions, join the interfaced waistband together at the side seam. Pin the piping to the right side of the waistband.
You want the stitching on the piping to be 5/8″ from the edge of the fabric. If your piping is narrow, measure to make sure you’ve left a 5/8″ seam allowance.
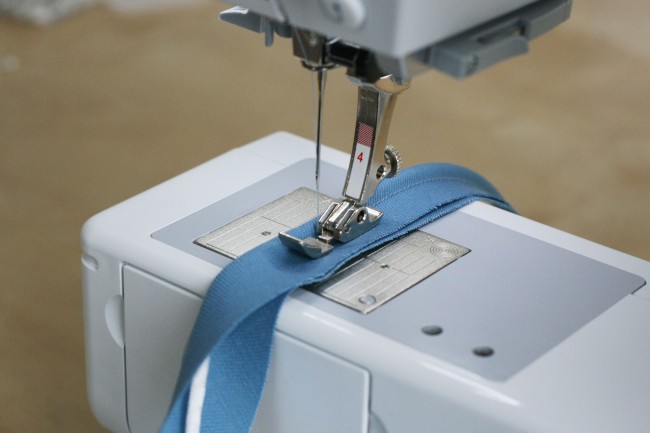
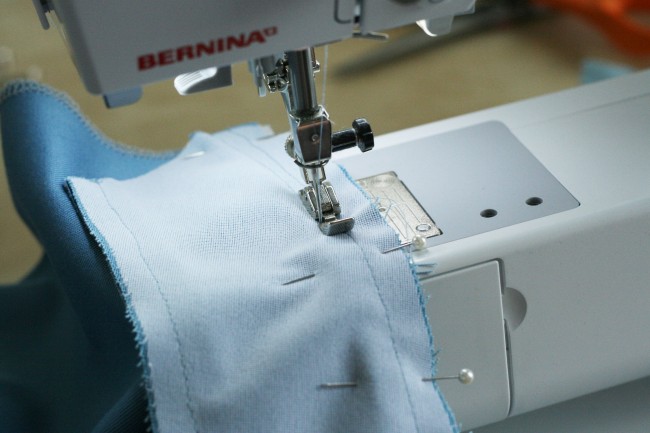
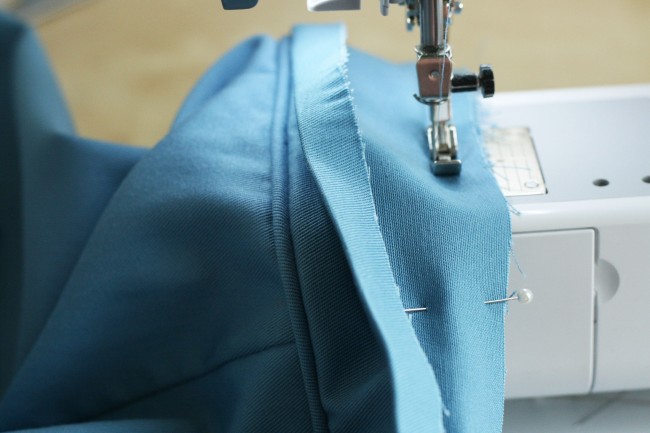
3. With a zipper foot, baste 1/4″ away from the piping. This will keep the piping in place when you sew the waistband to the pant and facing.
Note: To keep an even seam line with piping, always baste the piping to one layer of fabric first.
Another note: You might also use a piping foot for this, but most of already have a zipper foot, so that’s what we’re using here. With our Bernina, we actually usually use a #12 bulky overlock foot.
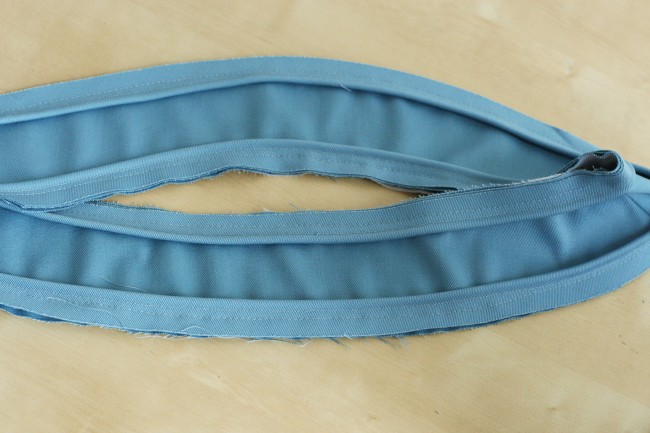
4. Baste the piping on both the top and bottom seams of the waistband.
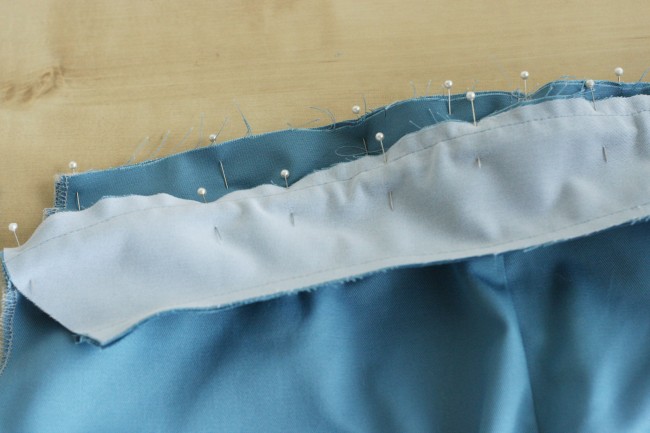
5. Pin the waistband to the pant waist line.
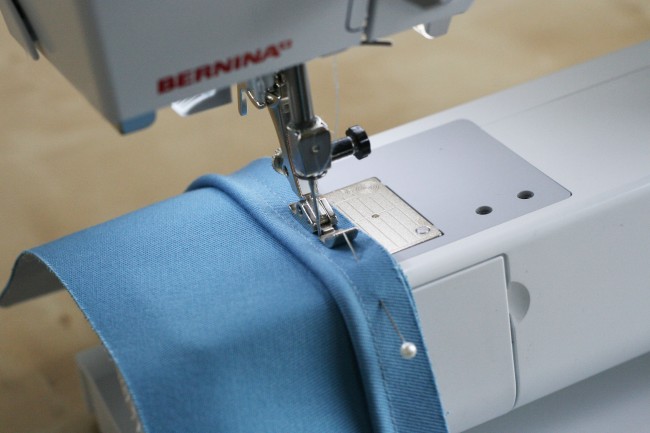
6. Sew as close to the piping as possible without catching the piping in the needle.
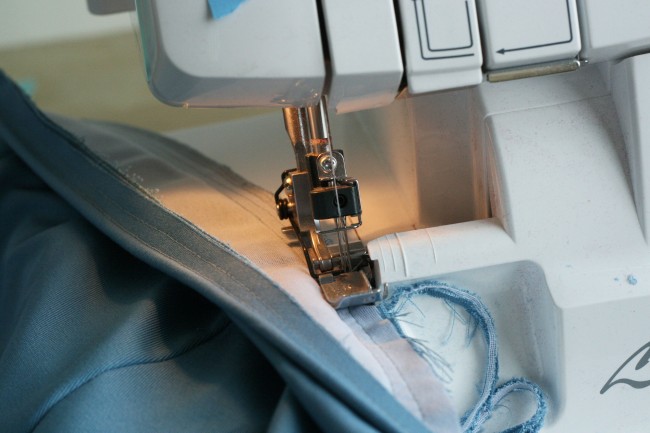
7. Finish the inner waistband by serging or with pinking sheers. Press the seam allowance toward the waistband.
8. Following the pattern instructions, install an invisible zipper.
9. Pin the waistband facing to the waistband.
10. As with step #6, sew as close to the piping as possible. Tip: gently push the piping towards the foot or needle to make sure you’re sewing right next to it.
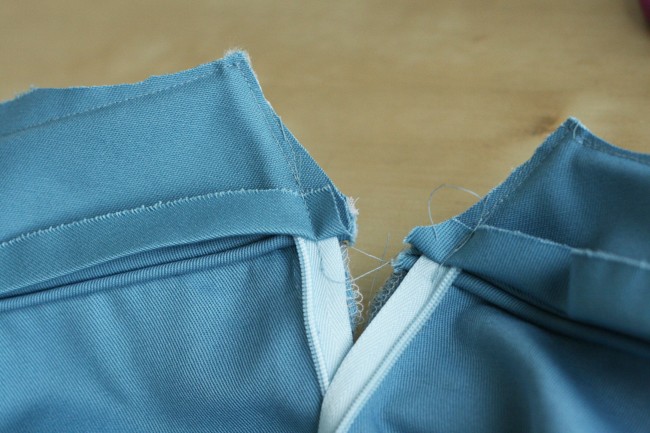
11. Follow the pattern instructions for finishing the seam and clipping corners.
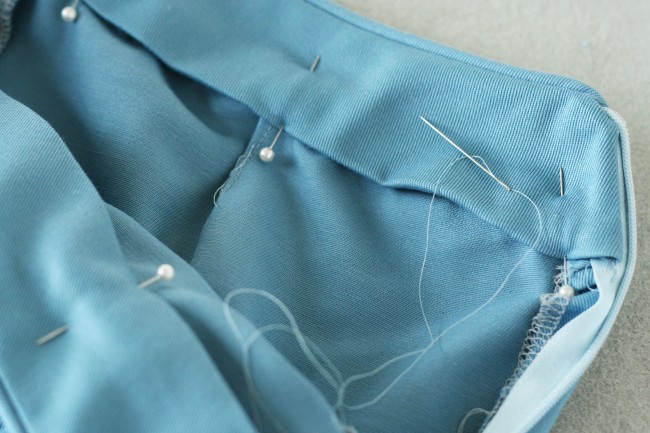
12. Once turned to the right side, hand stitch the facing in place with a needle and thread.
Some related posts you might be interested in:
- Tutorial: How to make piping: Make piping with cording!
- Tutorial: Flat Piping: A great tutorial showing how to sew in flat piping on a curved waistband
- Detail Inspiration: Piping: Some beautiful examples of piping in vintage and modern garments.

 Sign In


Comments
Tiphaine
September 13, 2011 #
That tutorial is great. How do you call the two feet you’re using for it ???? the first one seems to be for a zipper but I have never seen the second one before.
Caitlin
September 13, 2011 #
Hi Tiphaine! Yes, the first foot is a zipper foot. In #7, I used a serger to finish the edge, which is why that looks different. #8 is an invisible zipper foot. Hope that helps!
Kay
September 13, 2011 #
So far all the models shown in the Clover pants (which are beautiful by the way!) are very thin. Will these pants work for me? I am an hourglass shape. Thank you! :)
Sertyan
September 13, 2011 #
Hello!
I love to use piping in my work (almost all my projects have piping!) haha. Thank you for this tutorial, it gave me some pointers on how I can improve my piping ‘skills’. May I know what do you call this kind of blue fabric? and it’s not stretch is it? I recently made a shirt dress using this kind of fabric (you can check it out in my blog if you like) and I love the feel and hang of it, and it’s easy to sew too, and been wondering what type of fabric this is and what it’s called. Is it cotton?
Elinor
September 14, 2011 #
Hi! Thanks for the tutorial. Would it be possible to do a tutorial in the future for making these pants with a higher waist? Thank you!
jayshree
September 11, 2013 #
Very useful photos and explanations
Kathryn
April 13, 2014 #
I am just learning to sew. I am in my 50’s. A bit late learning to sew, I know. The tutorials are a great help.
Thanks so much
Regards
Kathryn